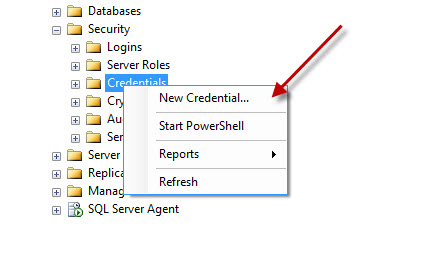
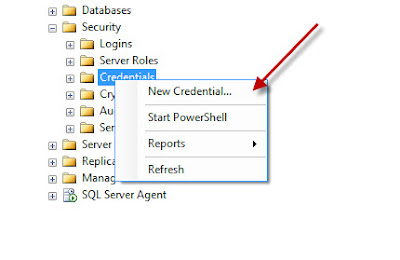
Wednesday, June 23, 2010

How to create a Linked Server to MySQL from SQL Server 2008

Download Connector/ODBC for mySQL from

http://dev.mysql.com/downloads/connector/odbc/5.1.html


Install the Connector/ODBC driver on the Server where SQL Server 2008 installed.
Create an ODBC System DSN using the installed MySQL Driver


Select System DSN , Add


Select the MySQL Driver then Click 'Finish'


Fill out the appropriate information and click 'Test'


Create a Linked Server at SQL Server 2008 Management Studio.

Under 'Server Objects', right click on 'Linked Servers' and select 'new Linked Server'


At 'Link Server' type a Name
On 'Other data sources' , Select 'Microsoft OLE DB Provider for ODBC Drivers'
Type the DSN name you just created at 'Data Source'


at security , specify the appropriate login information


on 'Server options' select 'True' for both 'RPC' and 'RPC Out'


Modify the properties of the MSDASQL provider:


Use OPENQUERY to Query the Linked Server.

SELECT TOP 10 * FROM OPENQUERY(MKMYSQL, 'SELECT * FROM Users')

Last Modified : June 23, 2010

Monday, June 21, 2010

Connect to SSIS Service on Machine "SQLSErver" failed: Access is denied

Connect to SSIS Service on Machine "SQLSErver" failed: Access is denied


Connecting to a Remote Integration Services Server

Connecting to an instance of Integration Services on a remote server, from SQL Server Management Studio or another management application, requires a specific set of rights on the server for the users of the application

If the user is not a member of the local Administrators group, add the user to the Distributed COM Users group. You can do this in the Computer Management MMC snap-in accessed from the Administrative Tools menu.


Open Control Panel, double-click Administrative Tools, and then double-click Component Services to start the Component Services MMC snap-in.


Expand the Component Services node in the left pane of the console. Expand the Computers node, expand My Computer, and then click the DCOM Config node.


Select the DCOM Config node, and then select MsDtsServer100 in the list of applications that can be configured


Right-click on MsDtsServer100 and select Properties.

In the MsDtsServer Properties dialog box, select the Security tab.


Under Launch and Activation Permissions, select Customize, then click Edit to open the Launch Permission dialog box.

In the Launch Permission dialog box, add or delete users, and assign the appropriate permissions to the appropriate users and groups. The available permissions are Local Launch, Remote Launch, Local Activation, and Remote Activation. The Launch rights grant or deny permission to start and stop the service; the Activation rights grant or deny permission to connect to the service.


Click OK to close the dialog box

Under Access Permissions, repeat above step to assign the appropriate permissions to the appropriate users and groups.


Close the MMC snap-in

Restart the Integration Services service


Last modified : June 21, 2010

Thursday, June 17, 2010

Globally disable CHECK_POLICY in SQL Server

3rd party vendor application Install’s may fail with
“Password validation failed. The password does not meet Windows policy requirements because it is too short” when connecting to SQL server to create database users.


Since most of the SQL commands to create the Database/users are embedded within the vendor install program and the CHECK_POLICY cannot be disabled globally in SQL server, you will have to do it at the login-level only that means when a single CREATE LOGIN statement is used, as you cannot use that in a transaction.

Workaround: add a Trace Flag –T4606 to the SQL server (into the appropriate instance) registry and restart the SQL server.

Using regedit, locate appropriate SQL instance where your Vendor application is going to connect.


Add a new registry key ‘SQLArg3’ with a value –T4606


Restart the SQL server


After running the 3rd party install program, remove the trace flag and restart the SQL server service again.

Last modified : 17th June 2010

Tuesday, June 15, 2010

Enable Network Access for MSDTC

Error:

OLE DB provider "SQLNCLI" for linked server "Linked Server" returned message "The partner transaction manager has disabled its support for remote/network transactions.".


Environment : SQL Server 2008 SP1(x64) on Windows SErver 2008 (x64)

How to enable network dtc access in windows server 2008:-

Navigate to "Administrative Tools"->"Component Services"


Right click on "Local DTC" , select "Properties"


Click "Security"
Check "Network DTC Access",
"Allow Remote Client",
"Allow Inbound",
"Allow Outbound"


More at http://technet.microsoft.com/en-us/library/cc753620(WS.10).aspx

How to Create SQL Agent Proxy

Create the SQL Agent Job Proxy

Using SQL Server Management Studio Connect to the instance using Object Explorer, navigate to Credentials and select New Credential. A credential links the Proxy account to a Windows account with the required authorities


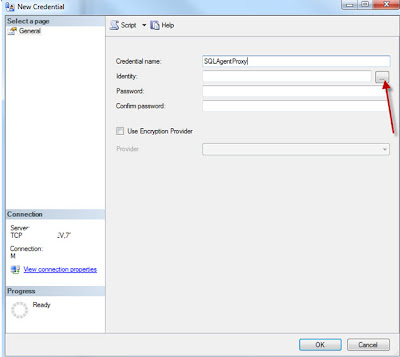
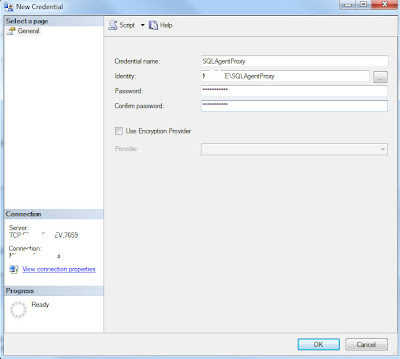
Set the credential name to be the same as the Windows account name that will be used, and then click on the ellipses button by the Identity field


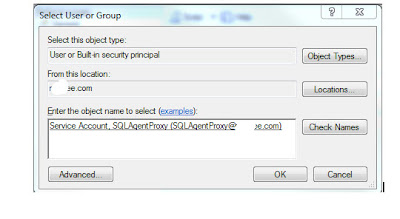
Select the Location to the domain and select the Windows account name that will be used, and then click OK.


Type the password for the account, and then click OK


Navigate to Logins and select New Login


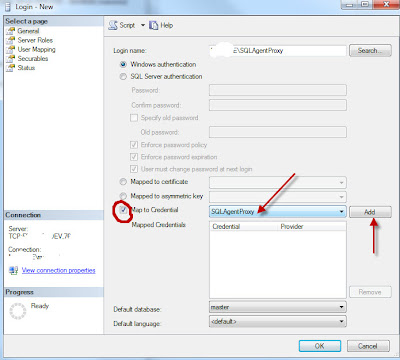
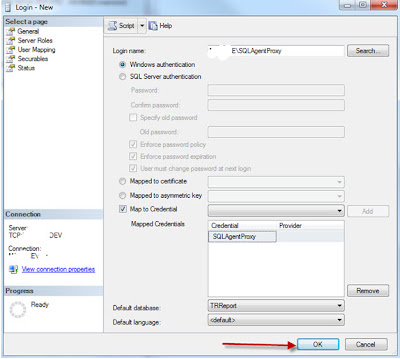
Locate the required proxy account login. Ensure that "Map to Credential" is checked, and select the credential created for the account. Click Add to complete the mapping


Set the Default database.


The next stage is to configure the job owner account so it can manage jobs. Select the User Mapping page. Enable access to msdb, and grant use of the SQLAgentUserRole. The SQLAgentUserRole authority is required both to allow the account to manage the jobs it owns, and to allow the associated credential to function as a SQL Agent proxy. Refer to BOL to decide if you also need to associate the proxy with the SQLAgentReaderRole or SQLAgentOperatorRole


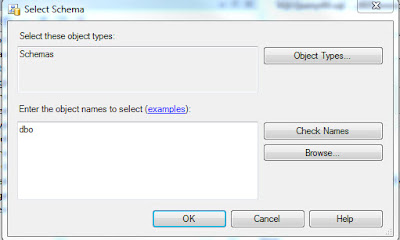
Click on the ellipses in the Default Schema column. Type dbo, click on Check Names then click OK


Assign the database roles and default schema specified by the Application Support Team for this account. Then click OK to save the new login.


Associate Proxy with SQL Agent Subsystems

The next stage is to associate the proxy with one or more SQL Agent subsystems.

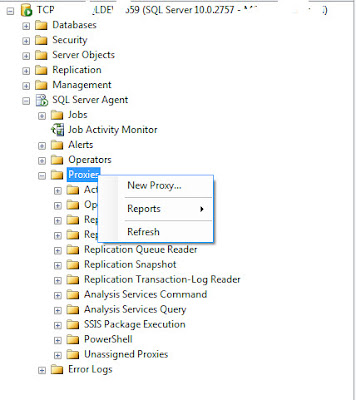
Navigate to SQL Server Agent -> Proxies, right-click on a required subsystem (e.g. Operating System (CmdExec)) and select New Proxy.


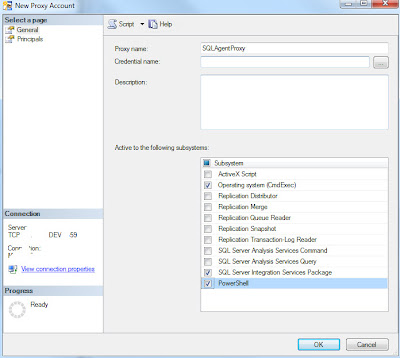
Type the name of the proxy, which should be the same as the Credential and account name, then click the ellipses button by the Credential Name field


Click Browse


Select the required credential name, and then click OK. Click OK again to return to the New Proxy Account window


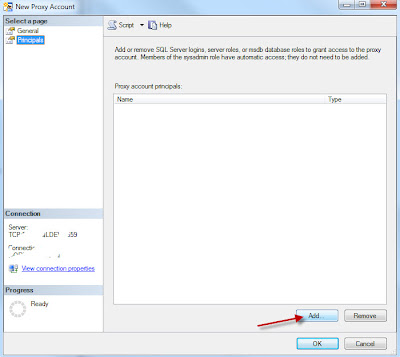
The proxy must be associated with a SQL login to obtain the authorities it will use within SQL Server. (The proxy obtains the authorities it will use within Windows from the credential.) Select the Principals page and click Add


Set the Principal type to SQL Login, and select the login with the same name as the proxy. This ensures that any authorities granted to the account are also available to the proxy


Click OK until you return to SQL Server Management Studio.

The same procedure can be performed using the spCreateAgentProxy stored procedure.


Associate Proxy with Job Steps

The proxy must now be associated with the required job steps.
Either create a new SQL Agent job or edit an existing one. Set the job owner to match the proxy you are going to use.


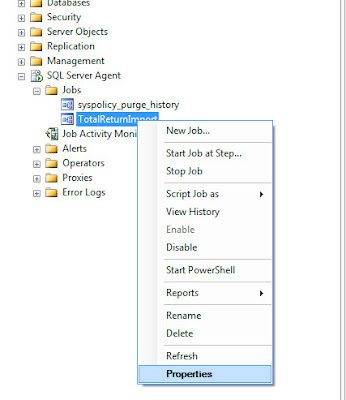
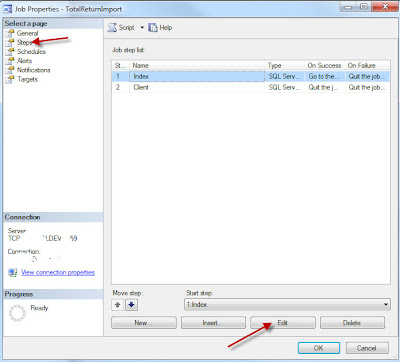
Select the Steps page, highlight the step to be configured and click Edit.


Set the Run as field to the required proxy


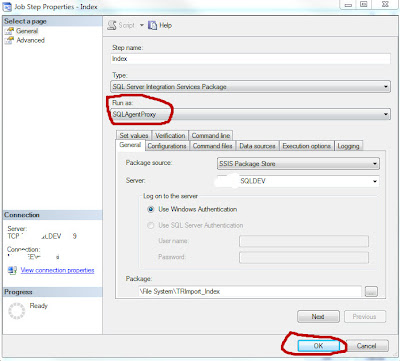
Repeat this process for all other job steps that need to be run using this proxy. Click OK until the job is saved.
SQL Server Management Studio can now be closed:

Date Modified : June 11, 2010